
Basin Wrenches for Hard-to-Reach Tap Nuts
Anyone who's ever tried to tighten or loosen a tap nut in the cramped space beneath a basin knows the frustration. Your hand won't fit. Standard spanners can't angle properly. You're lying on your back in a puddle, torch clenched between your teeth, wondering if there's a better way.
There is. Basin wrenches exist precisely for this scenario, and once you've used one properly, you'll wonder how you managed without it.
What Makes Basin Wrenches Different
Basin wrenches solve a specific geometric problem. Tap nuts sit directly against the underside of basins, often recessed between supply pipes and waste assemblies. The space available rarely exceeds 100mm in any direction, and you're working blind or nearly so.
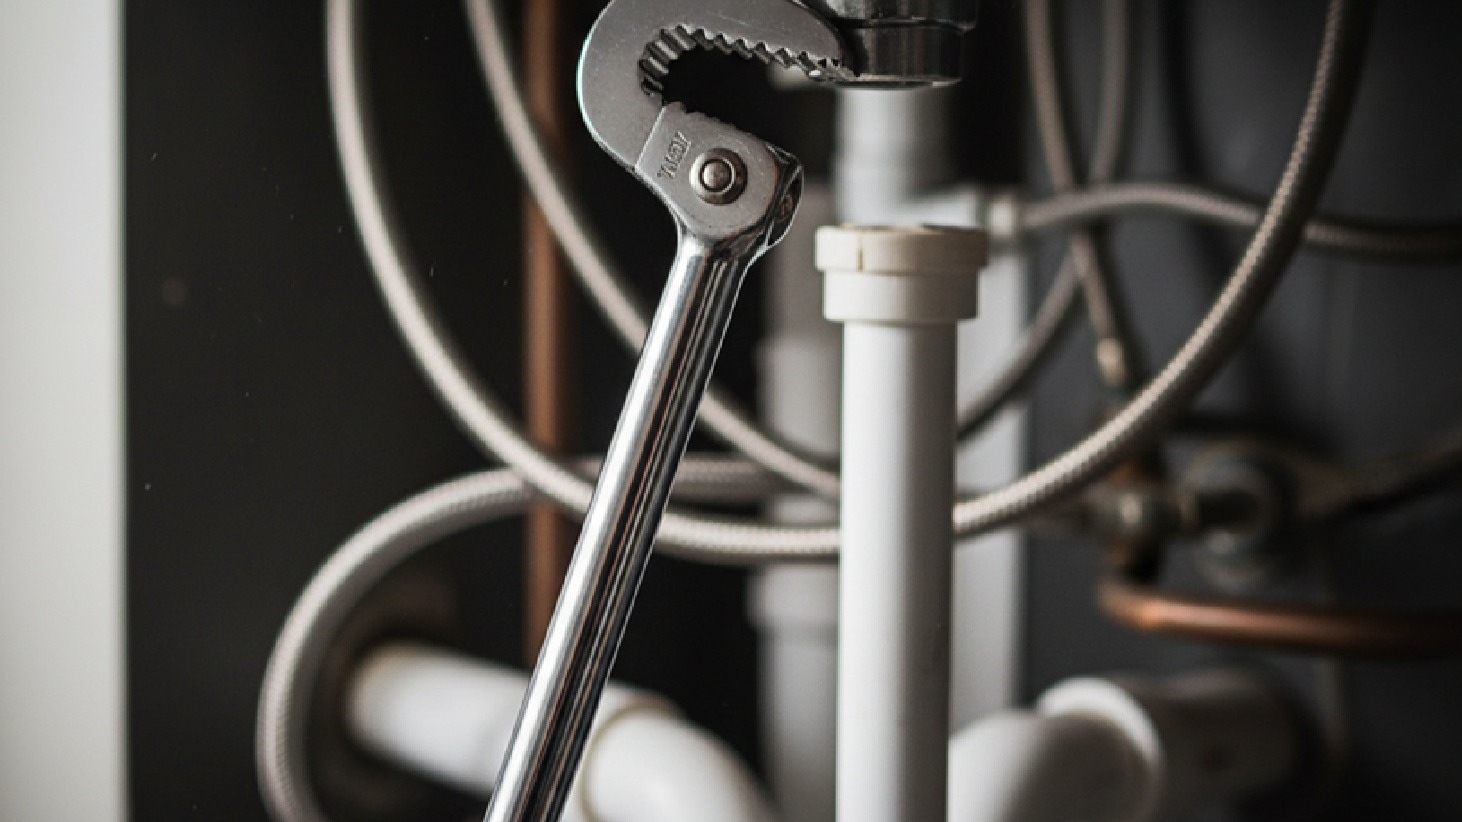
A basin wrench features a long shaft (typically 250-400mm) with a pivoting jaw head at one end. The jaw clamps onto the nut, and the shaft extends down where you can actually grip it. The pivoting mechanism means the jaw can flip to work in either direction without repositioning your entire body.
The design hasn't changed fundamentally in decades because it works. Modern versions use better materials and offer telescoping shafts, but the principle remains identical to tools from the 1950s.
When You Actually Need One
Not every tap installation requires a basin wrench. Wall-mounted taps with accessible back nuts, for instance, often yield to a standard adjustable spanner. Similarly, some modern tap designs use quick-release fittings that need no tools at all.
Basin wrench uses become essential when:
Space constraints make conventional tools impossible. If you can't get two fingers and a spanner head around the nut, you need a basin wrench.
The tap sits against a wall or splashback. This eliminates approach angles from the side, leaving only the narrow corridor directly beneath the basin.
You're working with older installations. Taps installed 15-20 years ago often used deeper basins with less undersink clearance than contemporary designs.
The nut has corroded onto the thread. Breaking free a seized nut requires leverage. A basin wrench's long shaft provides mechanical advantage without requiring contortionist positions.
Quality plumbing tools and pipe fittings specifically address these scenarios that arise constantly in real-world installations. The right tool transforms a two-hour ordeal into a 15-minute job.
Choosing the Right Basin Wrench
Three factors determine whether a basin wrench will work for your specific situation: jaw capacity, shaft length, and build quality.
Jaw Capacity
Most basin wrenches handle nuts from 10mm to 32mm. This covers standard UK tap fittings, but verify before purchasing. Kitchen mixer taps sometimes use 38mm nuts, requiring a larger-capacity wrench.
The jaw mechanism matters more than maximum capacity. Spring-loaded jaws grip automatically when you apply torque, which prevents the wrench from slipping off mid-turn. Cheaper models use friction-only designs that require constant pressure to maintain contact.
Shaft Length
Standard basin wrenches extend 250-300mm. This suits most bathroom basins and cloakroom installations where the basin depth rarely exceeds 200mm.
Kitchen sinks and Belfast-style basins need a longer reach. Telescoping models extend to 400-500mm, covering deep sinks and situations where pipework forces you to work from an angle.
Fixed-length shafts offer more rigidity, which helps when breaking seized nuts. Telescoping shafts provide versatility but can flex under heavy torque.
Build Quality
Professional-grade basin wrenches use drop-forged steel for the jaw assembly and heat-treated steel for the shaft. Budget versions substitute cast zinc alloy, which cracks under stress.
The pivot mechanism experiences a significant force. Look for brass or steel pivot pins rather than pressed-in rivets. A loose or worn pivot makes the tool nearly useless, as the jaw won't maintain the correct angle.
Using a Basin Wrench Properly
Technique matters more with basin wrenches than with most tools. The long shaft and indirect contact mean you're working partly by feel.
Position yourself correctly first. Lie on your back with your head directly beneath the basin. Use a cushion or a folded towel. You'll be here for several minutes, and neck strain makes precision impossible.
Identify the nut orientation. Most tap nuts are hexagonal. Note which faces are accessible before you start. The jaw needs to grip two parallel faces, not corners.
Flip the jaw to match the direction you're turning. The pivoting head should angle so that the applied torque pulls the jaw tighter onto the nut, not pushes it off. For loosening, the jaw typically angles backwards toward you. For tightening, it angles forward.
Apply steady pressure rather than jerking. The long shaft amplifies any sudden movements. Smooth, consistent force prevents the jawfrom slipping and reduces the risk of damaging copper supply pipes from manufacturers like Polypipe.
Use penetrating oil on seized nuts. Spray it 30 minutes before starting. The oil needs time to work into the threads. Forcing a corroded nut risks shearing the thread or cracking the tap body.
When tightening new installations, hand-tight plus one-quarter turn usually suffices. Over-tightening crushes the rubber washer and can crack ceramic basins. The goal is compression, not maximum torque.
Common Problems and Solutions
Even with the right tool and proper technique, basin wrenches present challenges.
The jaw won't grip. Usually, this means the nut is too small or too large for the jaw capacity. Verify the nut size with a standard spanner before assuming the wrench is faulty. Alternatively, check that the jaw mechanism isn't clogged with debris or corrosion.
The wrench keeps slipping off. This typically indicates incorrect jaw orientation. The pivot should angle so that the torque tightens the grip. If you're pushing rather than pulling, flip the jaw and approach from the opposite direction.
Insufficient clearance for the full shaft. Telescoping wrenches partially solve this, but sometimes they won't fit. In extreme cases, use a crowfoot spanner (a spanner head without a handle) attached to an extension bar. This requires a ratchet setup but works where nothing else will.
Rounded nut corners. Previous attempts with the wrong tool sometimes damage the nut faces. If the hex is badly rounded, you may need to cut the nut off with a hacksaw and replace it. This takes longer but prevents damage to the tap thread.
Cracked basin during removal. Excessive force on the wrench can transfer through the tap body to the ceramic. Always support the tap from above with your free hand. If the nut absolutely won't budge, apply more penetrating oil and wait rather than forcing it.
Basin Wrenches vs. Alternative Tools
Several other tools claim to handle awkward tap nuts. Each has limitations.
Adjustable spanners work only when you have direct access and sufficient clearance to swing the handle. In practice, these rules them out for most under-basin work.
Crowfoot spanners fit into tighter spaces than standard spanners but require a ratchet and extension setup. They're excellent for specific situations but less versatile than basin wrenches for general tap work.
Multi-grips or water pump pliers grip effectively but need clearance for the handles. They also risk marking chrome-plated nuts unless you're careful.
Tap spanner sets (the C-shaped spanners designed for tap work) handle exposed back nuts well, but can't reach into recessed positions. They're complementary tools rather than replacements.
For heating engineers working across domestic installations, having access to reliable heating controls from EPH Controls and Honeywell alongside proper hand tools creates efficiency. The same principle applies to plumbing work: the right tool for the specific task saves time and prevents damage.
Maintaining Your Basin Wrench
Basin wrenches spend their working life in damp environments, often contacting rusty nuts and corroded pipework. Without basic maintenance, they deteriorate quickly.
Clean the jaw mechanism after each use. Wipe away grit and corrosion residue. These particles jam the pivot and prevent smooth jaw movement.
Apply light oil to the pivot point monthly. A drop of 3-in-1 oil or similar keeps the mechanism moving freely. Avoid heavy grease, which attracts debris.
Check for wear on the jaw teeth. Worn teeth slip on nuts. If you notice reduced grip, the jaw may need replacing. Many professional models offer replacement jaw assemblies.
Store the wrench dry. Don't leave it sitting in a puddle at the bottom of a toolbox. Moisture accelerates corrosion, particularly on the pivot mechanism.
A well-maintained basin wrench lasts decades. The simple design contains few parts to fail, provided you prevent rust and keep the pivot working smoothly.
Professional vs. DIY Applications
Professional plumbers and heating engineers justify premium basin wrenches because they use them daily. The time saved and reduced frustration pay for the tool cost within weeks.
For occasional DIY use, mid-range basin wrenches deliver adequate performance. The key difference lies in build quality and durability rather than basic function. A budget wrench handles a dozen tap changes before showing wear. A professional tool handles hundreds.
If you're maintaining rental properties or planning multiple bathroom renovations, invest in professional-grade tools. The reliability matters when you're working to deadlines.
For a single tap replacement in your own home, a basic basin wrench from a reputable manufacturer suffices. Just verify the jaw capacity matches your tap nut size before purchasing.
Integration with Broader Plumbing Work
Basin wrenches uses rarely work in isolation. Most tap installations involve multiple components and tools.
When replacing taps, you're typically also dealing with supply pipes, isolation valves, and waste assemblies. Having quality plumbing supplies from Polypipe and reliable pipe fittings ensures compatibility and reduces the risk of leaks.
Similarly, if you're working on a broader bathroom renovation involving heating components, coordinating with established heating brands like Andrews and Morco creates system coherence. Mixing incompatible components causes problems months or years later.
The basin wrench represents one tool in a comprehensive approach to plumbing work. It solves the specific problem of inaccessible tap nuts, but successful installations require proper planning, compatible components, and appropriate tools for each task.
Real-World Scenarios
Scenario one: Standard bathroom basin tap replacement. The existing taps have been leaking. You've purchased new quarter-turn ceramic disc taps. The basin sits in a vanity unit, leaving approximately 150mm clearance beneath.
A standard 300mm basin wrench is easy to use. The existing nuts are 28mm hex, within the jaw capacity. After shutting off the water and draining the supply pipes, the basin wrench removes the old nuts in minutes. The new taps install just as quickly, with the wrench ensuring proper tightness without over-torquing.
Scenario two: Kitchen mixer tap on a Belfast sink. The sink depth exceeds 250mm, and the mixer tap uses a single large nut (35mm) to secure both hot and cold supplies.
This requires a telescoping basin wrench with at least 38mm jaw capacity. The extra reach and larger jaw accommodate the specific requirements. Without the right tool, this job becomes nearly impossible without removing the sink entirely.
Scenario three: Seized tap on a 30-year-old installation. The tap nut has corroded onto the thread. Standard removal attempts have rounded the nut corners slightly.
Penetrating oil applied overnight loosens the corrosion. A professional-grade basin wrench with hardened jaw teeth grips the damaged nut faces. The long shaft provides leverage to break the seal without excessive force. A cheaper wrench would likely slip on the rounded corners, potentially causing more damage.
System Component Integration
Understanding basin wrench uses extends beyond simple tap installation to complete system integration.
When installing taps connected to heating systems with circulator pumps from Grundfos or Lowara, proper tap nut tightening prevents leaks that compromise system pressure.
Hot water supplies from cylinders by Gledhill or Kingspan require leak-free tap connections. Basin wrenches ensure proper tightening without risking basin damage.
Quality heating controls from Danfoss and system components from Altecnic work optimally when all plumbing connections meet professional standards.
Making the Investment Work
Basin wrenches cost between £10 and £50, depending on quality and features. This represents excellent value for a tool that eliminates a specific, recurring problem.
The return comes not from the tool's complexity but from time saved and frustration avoided. Attempting to tap work without a basin wrench adds hours to simple jobs and risks damaging the basin, tap, or surrounding pipework.
If you're building a comprehensive toolkit for property maintenance, prioritise tools that solve problems you can't work around. Basin wrenches fall squarely in this category. Unlike tools with multiple alternatives, they represent the only practical solution for their specific application.
For professional tradespeople, the calculation is straightforward. Time is money. A tool that cuts job time by 60 minutes pays for itself on the first use. For homeowners, the value comes from making previously impossible DIY tasks achievable without calling a plumber.
Achieving Professional Results
Basin wrenches exist because standard tools fail in specific circumstances. The confined space beneath basins creates geometric constraints that conventional spanners can't overcome. The basin wrench's pivoting jaw and extended shaft solve this problem elegantly.
Choosing the right basin wrench means matching jaw capacity and shaft length to your specific requirements. Professional-grade tools justify their cost through durability and reliability under repeated use. DIY-grade tools serve occasional needs adequately when selected carefully.
Proper technique matters. Positioning yourself correctly, orienting the jaw properly, and applying steady pressure rather than jerking movements prevent damage and ensure effective results. Understanding when to use penetrating oil and when to stop forcing a seized nut separates successful installations from damaged ones.
The basin wrench represents specialised knowledge made physical. It embodies decades of plumbing experience distilled into a simple mechanical solution. Having one in your toolkit, knowing how to use it properly, and maintaining it correctly transforms frustrating jobs into straightforward tasks.
Whether you're replacing a leaking tap in your own bathroom or managing maintenance across multiple properties, the basin wrench delivers value far beyond its modest cost. It's the difference between a competent installation and a struggle that damages components and tests patience.
For quality basin wrenches and comprehensive plumbing tools suitable for professional and domestic use, Heating and Plumbing World supplies equipment ensuring professional results on every installation. If you need specific advice on tool selection or installation techniques, get in touch for expert recommendations.