
Emergency Heating System Shutdown: When and How to Drain Down
A heating system lockout at 3 a.m. on a December night isn't just inconvenient; it's the start of a countdown. Without heat circulating through your pipework, the clock starts ticking towards frozen pipes, split radiators, and a five-figure insurance claim. Knowing how to drain down a heating system safely can mean the difference between a controlled shutdown and catastrophic water damage.
Most heating engineers will face this scenario at least once: a boiler fault that can't be fixed immediately, an extended property vacancy, or emergency repairs that demand a complete system drain. The process itself isn't complex, but the decision-making around it requires careful judgment. Drain too hastily without proper preparation, and you'll introduce air locks and sediment problems. Wait too long in freezing conditions, and you're gambling with burst pipes.
Think of a heating system like a large data centre. You wouldn't just pull the plug on the servers if you needed to perform maintenance; you'd back up the data and shut everything down in a specific order to prevent corruption. When you drain down a heating system, you're performing a controlled "shutdown" of the hydraulic data to ensure the hardware stays safe while you work.
Recognising When A Drain Down Becomes Necessary
Not every heating fault requires draining the entire system. A leaking radiator valve or a failed pump can often be isolated using service valves, allowing you to work on one component whilst the rest of the system stays charged. However, uncontrollable leaks top the list of reasons to act fast. When a pipe joint fails or corrosion creates a pinhole leak that is spraying water across a ceiling void, your priority shifts to damage limitation.
Extended property vacancies during winter months also demand that you drain down a heating system if the heating won't be running. Leaving a charged system in an unoccupied building might seem fine if the boiler is on a frost stat, but what happens when that boiler locks out? Frozen water expands with enough force to split 22mm copper pipe like a banana skin. This is the stage where you'll likely need to source heating spares to repair the resulting damage.
Pre-Drain System Assessment And Preparation
Before you open a single drain valve, take ten minutes to assess the system. Identify your drain points; most systems have a valve at the lowest point of the pipework, typically near the boiler or in a ground floor utility room. Check it isn't seized before you commit. If it won't budge, you'll need to plan an alternative route through a radiator.
Locate all isolation valves on the system. You'll want to close the cold feed from the header tank if it is an open-vented system. On sealed systems, you must isolate the filling loop to prevent fresh water from entering as you drain. It is also wise to check your heating pumps for integrated isolation valves that can simplify the process and allow for targeted repairs without a full shutdown.
Protect the work area. Even with a hose attached to the drain point, you'll get spillage. Lay down dust sheets and have towels ready. Finally, turn off the power to the boiler and any immersion heaters. Firing up a boiler with no water in the heat exchanger will crack the casting or warp the exchanger plates in seconds.
The Step-By-Step Drain Down Procedure
Once you've completed your prep work, the actual drain follows a logical sequence. Rushing this process introduces air locks that'll cause problems when you refill. Heating and Plumbing World provides the necessary tools and guidance to help trade professionals execute this safely.
- Isolate the water supply: On an open-vented system, tie up the ball valve in the feed and expansion tank. On a sealed system, close the isolation valve on the filling loop.
- Switch off all controls: Turn the programmer to off and set the room thermostat to its lowest setting.
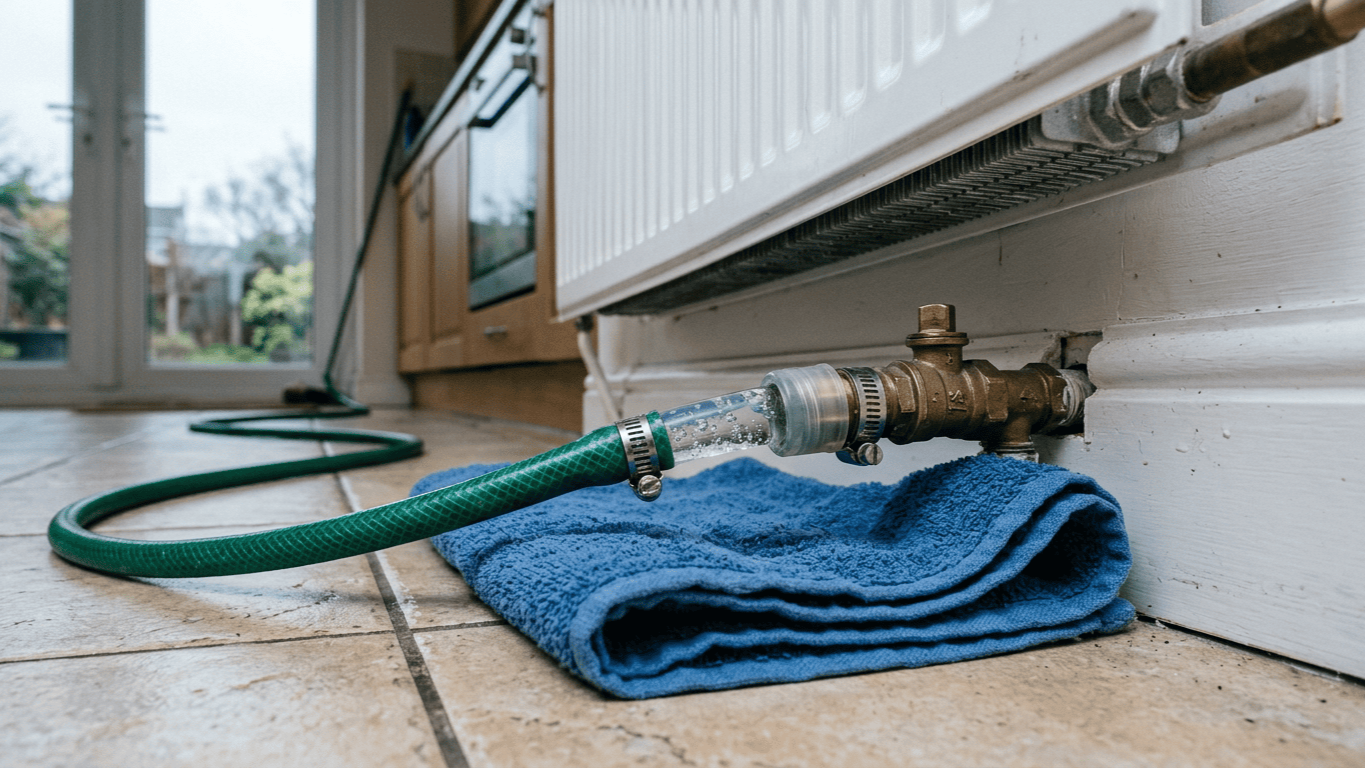
- Attach a hose: Secure a standard garden hose to the drain point using a jubilee clip if the connection is worn.
- Open the drain valve slowly: Turn it anticlockwise. Start with a quarter turn to check flow and ensure your hose connections are secure.
- Break the vacuum: Start by opening a radiator bleed valve on the highest radiator in the property. You'll hear air being sucked in. Work your way down the building floor by floor.
- Open all valves: If your radiators have TRVs, set them to maximum. This ensures water drains from each unit into the main flow and return pipes.
On sealed systems, you might need to check the expansion vessel to ensure there isn't trapped pressure preventing a full drain. This check is crucial for ensuring that the air side of the system doesn't counteract the drainage of the water side, which can leave pockets of fluid that might freeze or spill during repairs.
Common Drain Down Mistakes And How To Avoid Them
Even experienced engineers occasionally rush and create problems. Failing to open enough air vents is the most common error. If you only open one or two, the system won't drain fully. You'll have water trapped in radiators that'll come out when you start work. You should also ensure that your heating controls are not obstructing the drain path by keeping motorised valves closed. Always use a radiator bleed valve on every floor, starting at the top.
Draining too fast can stir up sediment that has been sitting at the bottom of radiators for years. When you refill, this sediment gets circulated through the pump and heat exchanger, causing blockages. If you have an older system, drain slowly and consider a full flush. Using high-quality radiator valves with robust seals can help prevent air ingress during the drain and leaks during the refill.
Refilling And Recommissioning The System
Once your work is complete, take the same methodical approach to refill. Close all drain valves and bleed points before you start. Check every radiator bleed valve is shut tight and verify that any disconnected pipework has been properly reconnected with a secure push fit or solder joint.
Add a high-quality corrosion inhibitor before refilling if you've drained for maintenance. This protects the system from internal rust and limescale. Pour the corrosion inhibitor into the header tank or dose it through a radiator on sealed systems. Refill slowly from the lowest point, watching the pressure gauge. You're aiming for around 1.0 to 1.5 bar initially on a sealed system.
Preventing Future Emergency Drains
Whilst some drain downs are unavoidable, many emergency situations can be prevented. Fit isolation valves strategically throughout the system. Every radiator should have isolating valves on both flow and return pipes, allowing you to work on individual units without a full shutdown.
On a recent job, a senior engineer was called to a rural manor house where a pipe had burst in the loft. The homeowner didn't know how to drain down a heating system and had spent three hours trying to mop up water while the header tank continuously refilled the system. By the time the engineer arrived, two ceilings had collapsed. If the homeowner had known to simply tie up the ball valve and open a drain cock, the damage would have been limited to a single damp patch. It is a powerful reminder that basic system knowledge saves properties.
Conclusion
Knowing when and how to drain down a heating system safely is an essential skill. Whether you're responding to a leak or preparing a property for a winter shutdown, a methodical approach prevents the common mistakes that turn a simple job into a nightmare. Refilling demands the same care, with slow filling and thorough bleeding preventing air locks and circulation problems.
Strategic placement of valves and annual servicing reduce the likelihood of catastrophic failures. But when that 3 a.m. call comes and you're facing a flooding system, knowing the correct procedure protects both the property and your reputation.
If you need specific advice on system draining or component selection, please contact our support team for expert guidance tailored to your project.