
How to Find and Fix a Minor Pipe Leak Under a Floorboard
A small puddle on the floor. A damp patch on the ceiling below. That musty smell that shouldn't be there. These are the calling cards of a pipe leak hiding beneath your floorboards; and catching it early can save thousands of pounds in water damage repairs.
Most leaks under floors start small: a weeping compression joint, a pinhole in corroded copper, or a failed push-fit connection. Left unchecked, they'll rot joists, ruin ceilings, and create the perfect breeding ground for mould. But here's the good news: with the right approach, you can locate and fix a minor pipe leak yourself without ripping up half the floor.
The trick is working methodically. Panic leads to unnecessary damage and wasted time. Professional plumbers pinpoint leaks under floors, access them with minimal disruption, and execute a proper repair that'll last.
Reading The Warning Signs
Before you lift a single board, learn to read what the leak is telling you. Water follows gravity and the path of least resistance, which means the visible damage often sits well away from the actual source. Damp patches on ceilings typically appear directly below the leak, but water can track along joists or pipes for a metre or more before dripping through.
Staining patterns reveal a lot about timing. A crisp, dark water mark with sharp edges suggests an active leak. Faded, yellowish stains with fuzzy edges point to an old leak that may have already sealed itself, though it's always worth investigating. Buckled floorboards indicate sustained moisture exposure. Engineered flooring reacts faster than solid timber, often cupping within days.
Tracing a leak is like following a small stream in a forest. You might find a wet patch on the ground, but to find the spring, you have to follow the moisture uphill against the natural flow. In a house, that "uphill" usually means tracing back along the pipe or joist to the highest point of dampness.
Narrowing Down The Location
Don't start lifting boards at random. Spend 15 minutes with the system isolated to gather intelligence first. Turn off the water supply at the stopcock and watch your water meter. If it's still ticking over with everything off, you've confirmed an active leak somewhere. On combination boiler systems, isolate the heating circuit separately to see if it's a heating controls issue or a mains supply problem.
Use a moisture meter if you've got access to one. These aren't expensive, and they'll tell you exactly which boards are wet without guessing. Take readings in a grid pattern around the damp area, working outwards until you find dry wood. The wettest reading on your moisture meter is your target zone.
Listen for the leak. In a quiet house with the water turned back on briefly, you can often hear a hiss or drip. Get your ear close to the floor in the suspect area. It sounds ridiculous until it works; and it works more often than you'd think.
Accessing The Leak With Minimal Damage
You've found the area. Now you need to expose the pipe without turning the job into a full floor replacement project. Tongue-and-groove floorboards are the enemy here. They're nailed down and interlocked, which means lifting one often means lifting three or four. Start at the edge of the room if possible.
Use a bolster chisel to gently prise up the first board. Work along the length, lifting gradually rather than forcing one end up. Once you've got the first board out with your bolster chisel, the rest come easier. Heating and Plumbing World provides the professional-grade tools required to ensure these boards are lifted without splitting the timber.
If you're dealing with chipboard or OSB panels, locate the joists, find the screws, and remove them. Cut along joist centres so you've got something to screw the piece back down to later. Clear the area around the pipe once you're in. You need room to work; at least 30cm either side of the suspected leak point.
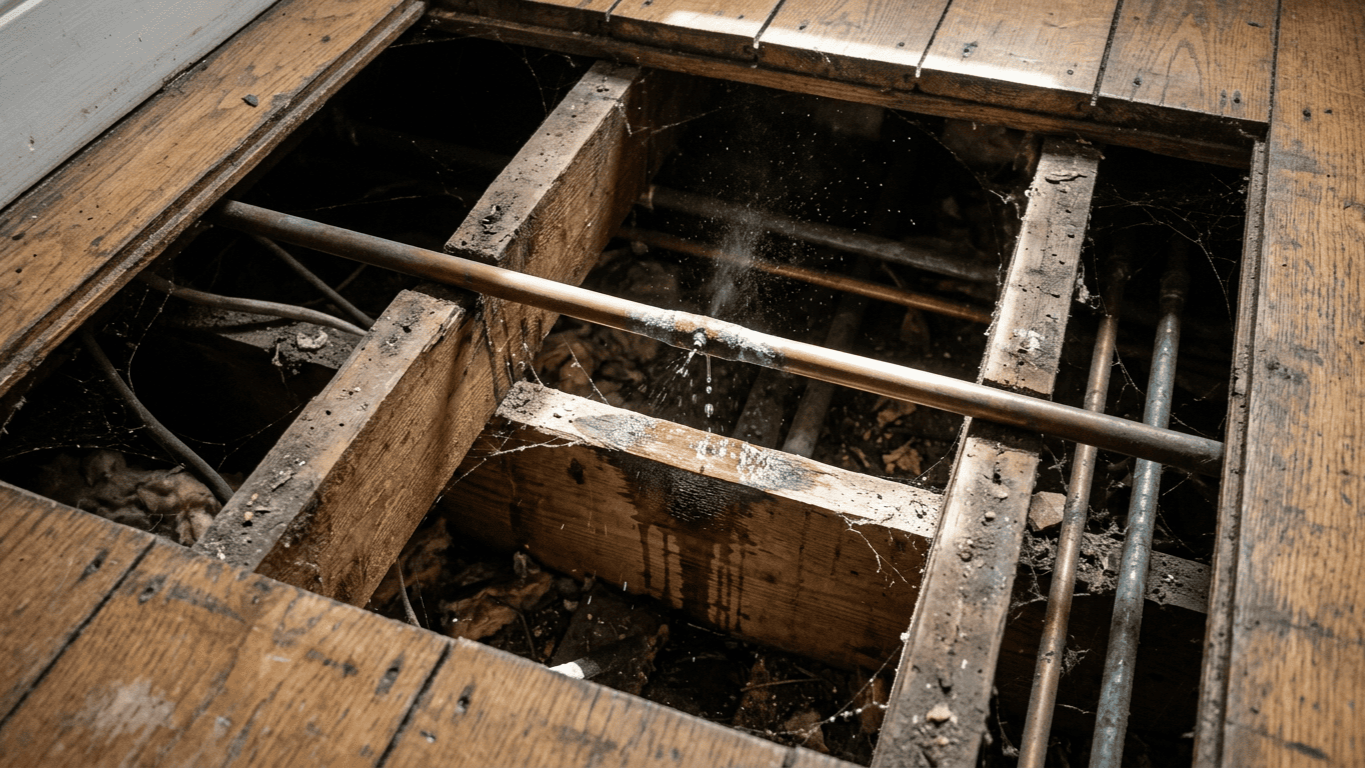
Locating The Exact Leak Point
You're staring at pipework now. The leak might be obvious: a steady drip or a spray when you turn the water back on briefly. Or it might be subtle, such as a damp patch on the pipe, green corrosion on copper, or moisture around a compression joint.
Dry the pipe thoroughly with a cloth. Turn the water back on gently and watch. Use a torch to inspect every joint, every fitting, and the full length of visible pipe. If nothing is immediately obvious, wrap tissue paper around each joint and along the pipe. It'll show even the smallest weep within seconds.
For heating pipes, you might need the system hot to see the leak. Corrosion weeps often seal themselves when cold due to contraction, then open when the pipe expands under heat. If you find multiple weeps, it may be time to check your heating pumps to ensure system pressure isn't spiking and stressing old joints.
Fixing Common Leak Types
What you do next depends entirely on what's failed. If a compression joint is weeping from the nut, don't just tighten it harder. Over-tightening crushes the olive and makes things worse. Turn off the water, drain down the section, and undo the nut completely. Check the olive; if it's deformed, replace it. Remake the compression joint with the nut finger-tight, then just 1.5 turns with a wrench.
Pinhole weeps in copper pipe can't be permanently patched. The corrosion that caused the pinhole has weakened the surrounding pipe too. You need to cut out the damaged section and replace it. Use a pipe slice to make clean, square cuts. Fit a repair section using either solder joints or push fit plumbing fittings.
Using a pipe slice ensures you don't leave burrs that could snag a push-fit O-ring. Failed push-fit connections usually happen because the pipe wasn't inserted fully or the grab ring has failed. To fix this, remove the fitting, inspect the pipe end, and cut back 10mm if there's any damage. Always use pipe inserts on plastic pipe systems to stop the pipe collapsing when you push it into the fitting.
Making Good And Testing
Once the repair is done, test it properly before closing everything up. Turn the water supply back on slowly, watching the repair point. Let it run at full pressure for at least 10 minutes while you inspect the joint from all angles. For heating system repairs, you'll need to repressurise the system. It's often worth checking the expansion vessel installation to ensure the system doesn't experience pressure shocks during this process.
Insulate the repair if it's in a cold space. Pipe insulation prevents both freezing and condensation. Replacing floorboards needs doing properly to avoid squeaks. If you've cut boards, ensure the cut ends land on a joist centre and screw them down rather than nailing.
On a recent job, a homeowner attempted to fix a minor pipe leak themselves by wrapping a leaking joint in waterproof tape. They closed the floorboards and forgot about it. Six months later, the joist had rotted through and the ceiling below collapsed. The tape had merely redirected the water into the timber. It's a stark reminder that if you don't execute a mechanical repair, you haven't really fixed the problem.
Preventing Future Leaks
Once you've fixed the immediate problem, think about prevention. Protect pipes from corrosion by keeping them away from masonry and ensuring they don't rest directly on concrete. Use plastic pipe clips or wrap contact points with tape. Avoid over-tightening fittings during installation; joints need to be tight, but not strangled.
Service heating systems annually. Corrosion in heating circuits often starts with poor water quality. A powerflush and the addition of inhibitor can add years to pipe and radiator life. If you're doing new pipework, consider using quality fittings from established manufacturers.
Conclusion
Finding and executing a way to fix a minor pipe leak under floorboards isn't the nightmare job it first appears. Work methodically; identify the area, access it carefully, and execute the proper repair. Rushing leads to temporary fixes that fail within months.
The key is treating the cause, not just the symptom. A weeping fitting might tighten up, but if the olive is damaged, it'll leak again. Catching leaks early means a simple repair instead of a major remediation project.
Keep an eye on your floors, your ceilings, and your water meter. They'll tell you when something's wrong, often before it becomes expensive. If you're unsure about the correct components, please get expert advice from our team to ensure your repair lasts for the long term.