
Isolating Valves: Where and Why to Install Them
A burst pipe at 2 am teaches you the value of isolating valves faster than any textbook. When water floods your kitchen and you're frantically searching for the stopcock, you realise that shutting off the entire house just to fix one leaking tap isn't ideal. Isolating valves prevent this scenario by letting you control water flow to specific fixtures whilst keeping the rest of your system operational.
What Isolating Valves Actually Do
Isolating valves control water flow to individual appliances, fixtures, or sections of pipework. Turn the valve clockwise, and you stop water reaching that specific point. Turn it anticlockwise, and flow resumes. This simple mechanism saves hours of work and prevents unnecessary disruption during repairs or maintenance.
The typical home contains dozens of potential failure points, radiators, taps, toilets, washing machines, boilers. Without isolation, fixing any of these requires draining your entire system or shutting off mains water. With proper isolating valve placement, you contain the work to one area whilst the rest of your home functions normally.
Essential Locations for Isolating Valves
Each Radiator Requires Two Valves
Every radiator needs an isolating valve on both the flow and return pipes. This setup lets you remove or service a radiator without draining the entire heating system. We install these valves as standard on new radiator installations because the time saved during future maintenance pays for the valves within the first service call.
The lockshield valve typically serves as the return isolation point, whilst the thermostatic radiator valve (TRV) or manual valve controls the flow side. Both must close completely to isolate the radiator effectively. Quality TRVs from manufacturers like Danfoss provide reliable isolation and temperature control.
Under Every Sink and Basin
Service valves under sinks prevent minor tap repairs from becoming major disruptions. These small valves, usually 15mm compression fittings, sit on the hot and cold supply pipes feeding each tap. A leaking tap washer becomes a 10-minute fix instead of a 2-hour job involving stopcock location and system drainage.
Kitchen sinks require particular attention because they often feed dishwashers and washing machines through branch connections. Isolating valves before these branches let you service appliances independently.
Behind Toilets
The isolation valve serving your toilet sits on the cold supply pipe, typically 15mm or occasionally 10mm. This valve proves essential during cistern repairs, fill valve replacements, or toilet upgrades. Without it, you're shutting off cold water to your entire home for what should be straightforward maintenance.
We've attended countless callouts where homeowners discovered their toilet isolation valve had seized through years of neglect. Testing these valves annually, simply closing and reopening them, prevents this problem.
At Every Fixed Appliance
Washing machines, dishwashers, and water softeners need dedicated isolation. These appliances connect via flexible hoses that eventually perish. When a washing machine hose fails mid-cycle, an isolation valve transforms a potential flood into a quick shutoff.
Self-closing isolation valves (also called stop taps with check valves) work particularly well for washing machines. These valves automatically stop water flow when you disconnect the appliance, preventing accidental flooding if you forget to close the valve manually.
Boiler Connections
Your boiler requires isolation on multiple points: the cold water feed, flow and return pipes to the heating system, and the gas supply (for gas boilers). These valves let engineers service or replace the boiler without draining radiators or disrupting your entire heating system. Systems incorporating boilers from brands like Andrews or spare parts for units like Halstead benefit from proper isolation.
Modern combination boilers also benefit from isolation valves on the mains cold feed and hot water outlets. This arrangement contains any boiler faults to the unit itself rather than affecting your whole water supply.
Outdoor Taps and Garden Supplies
External taps need isolation valves inside the building where they won't freeze. These valves should sit in an accessible location, typically under the kitchen sink or in a utility room, so you can isolate outdoor supplies during winter.
Garden irrigation systems require similar treatment. We install isolation and drain-down points before pipework exits to external areas, allowing complete winterisation of outdoor supplies.
Before Water Treatment Equipment
Water softeners, filters, and UV sterilisers all require isolating valves on both inlet and outlet sides. This valve arrangement creates a bypass loop, letting you isolate and service the treatment equipment whilst maintaining water supply to the property.
The bypass configuration typically uses three valves: one on the inlet, one on the outlet, and one on a connecting pipe between them. Close the inlet and outlet, open the bypass, and water flows around the treatment unit.
Choosing the Right Valve Type
Gate Valves vs Ball Valves
Gate valves operate by raising or lowering an internal gate across the water flow. They provide unrestricted flow when fully open but take multiple turns to operate. These valves work adequately for infrequent isolation but tend to seize if left in one position for years.
Ball valves use a rotating ball with a hole through its centre. Quarter-turn operation makes them faster to use, and their design resists seizing better than gate valves. For most domestic installations, ball valves prove more reliable long-term despite slightly higher initial cost.
We've replaced hundreds of seized gate valves with ball valves over the years. The difference in reliability justifies the upgrade, particularly for radiator isolation where valves might sit untouched for years.
Service Valves for Tight Spaces
Service valves (sometimes called appliance valves) fit in confined spaces under sinks and behind toilets. These compact valves typically feature a slotted head requiring a screwdriver or the edge of a coin to operate. Whilst less convenient than full-size ball valves, they work effectively where space constraints prevent standard valve installation.
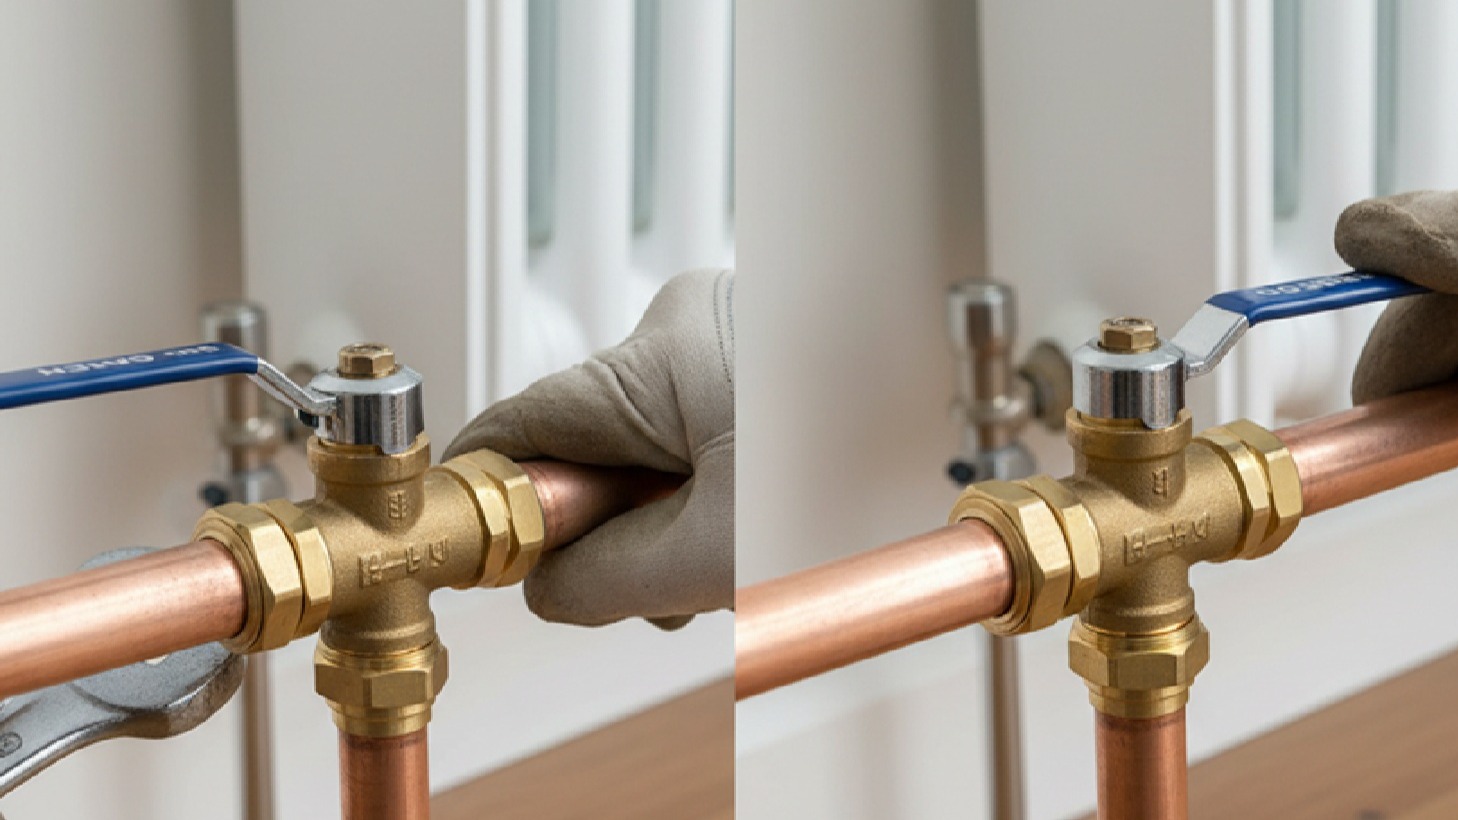
Lever vs Screwdriver Operation
Lever-operated ball valves show their position at a glance, lever parallel to the pipe means open, perpendicular means closed. This visual confirmation prevents confusion during maintenance. Screwdriver-operated valves offer a cleaner appearance and resist accidental operation but require more effort to use.
For radiator valves, we prefer screwdriver operation on the lockshield side (which rarely needs adjustment) and lever or wheel operation on the flow side (which may need seasonal adjustment).
Installation Standards That Prevent Problems
Accessibility Determines Usefulness
An isolating valve hidden behind fixed panels or buried under floorboards serves little purpose during emergencies. Every isolation point should be accessible without tools, demolition, or furniture removal. When planning installations, we consider not just where valves should go technically, but whether someone can actually reach them at 2am during a leak.
Radiator valves present particular challenges in fitted furniture or built-in storage. The valve must remain accessible even after decorating and furnishing. If a radiator sits in an alcove that later gets boxed in, those isolation valves become useless.
Orientation and Working Space
Ball valves need clearance for the lever to rotate 90 degrees. Installing a lever valve tight against a wall leaves it impossible to operate. Similarly, screwdriver-operated valves require enough space to turn the slot, typically 50-75mm of clearance.
Flow direction matters for some valve types. Most modern ball valves work in either direction, but check valves and some specialised isolation valves must align with flow. Arrows moulded into the valve body indicate correct orientation.
Compression vs Soldered Fittings
Compression fittings let you install isolation valves without hot work, making them ideal for retrofitting or working near combustible materials. These fittings use an olive (brass or copper ring) compressed onto the pipe to create a watertight seal. Quality fittings from reliable suppliers ensure long-lasting connections. Properly installed compression fittings last decades, though they require more space than soldered alternatives.
Soldered (end-feed or solder-ring) fittings create permanent joints using heat and solder. These fittings sit more compact than compression types and eliminate the risk of compression joints working loose over time. For new installations where hot work is acceptable, soldered valves provide the neatest finish.
Supporting the Pipework
Isolation valves add weight and create stress points in pipework. Pipe clips within 300mm of each valve prevent strain on joints and reduce the risk of leaks developing from pipe movement. This support proves particularly important for plastic pipework from manufacturers like Polypipe, which expands and contracts more than copper.
Heavy valves on vertical pipes require support underneath to prevent the valve's weight pulling on the joint. A pipe clip directly under the valve body prevents this stress.
Common Mistakes That Create Future Problems
Installing Too Few Valves
The most common mistake is simply not installing enough isolation points. The cost of adding valves during initial installation is minimal compared to retrofitting them later. Every fixture, appliance, and radiator should have dedicated isolation.
We've seen heating systems where 15 radiators share a single isolation point. Servicing any radiator requires draining the entire system, a job that takes hours and risks introducing air locks and debris into the system.
Using Incorrect Valve Sizes
Isolating valves must match the pipe size they're serving. A 15mm valve on 22mm pipework creates a restriction that reduces flow and increases noise. Conversely, attempting to fit a 22mm valve onto 15mm pipe requires reducers that add unnecessary joints and potential leak points.
For appliances with flexible connection hoses, the valve size should match the hose connection (typically 15mm) rather than the main supply pipe size.
Forgetting Drain Points
Isolation valves let you stop water flow, but you still need to drain the isolated section before working on it. Installing drain points alongside isolation valves, particularly for heating systems, lets you remove water from isolated sections without draining everything.
A drain point consists of a drain valve (small tap) at the lowest point of the isolated section. For radiators, the drain valve typically sits on the return pipe near the radiator itself.
Neglecting Future Access
Tiling over service valves, boxing them into sealed cavities, or hiding them behind built-in furniture creates problems during maintenance. Before finishing work around isolation valves, consider how someone will access them in five or ten years.
Access panels in boxing, removable tiles, or service hatches preserve accessibility without compromising appearance. These additions cost little during installation but save significant expense during future maintenance.
Testing and Maintenance
Commission Testing
Every newly installed isolation valve should be tested before finishing work. Close the valve, then open a tap or drain point on the isolated section. Water should stop completely, any continued flow indicates a faulty or incorrectly installed valve.
For heating systems with pumps from Grundfos or Lowara, test isolation valves under system pressure. Close the valve, then attempt to drain the isolated section. If water continues flowing, the valve isn't sealing properly.
Annual Exercise Prevents Seizure
Isolation valves left in one position for years tend to seize. The internal mechanism corrodes or scale builds up, leaving the valve stuck open (or occasionally closed). Annual exercise, simply closing and reopening each valve, keeps mechanisms free and ensures valves will work when needed.
This maintenance takes minutes but prevents hours of frustration during emergencies. Mark your calendar for autumn, before the heating season begins, and test every isolation valve in your property.
Labelling Saves Time
Clear labels identifying what each valve isolates prevent confusion during emergencies. Under-sink cupboards often contain multiple valves serving different fixtures. Without labels, you're guessing which valve controls what, potentially shutting off the wrong supply during a leak.
Waterproof labels or metal tags attached to valve handles provide permanent identification. Include both what the valve serves ("Kitchen Cold Tap") and the date of installation or last service.
Planning Effective Isolation
Isolating valves transform maintenance from disruptive system-wide shutdowns into contained, manageable tasks. Installing them at every radiator, fixture, and appliance costs relatively little during initial plumbing work but delivers enormous value throughout your property's lifetime.
The locations matter: radiators need two valves each, every tap requires dedicated isolation, and appliances must be independently controlled. The valve types matter too, ball valves outlast gate valves, and proper sizing prevents flow restrictions.
Most importantly, accessibility determines whether isolation valves actually serve their purpose. A valve you can't reach during a leak might as well not exist. Plan installations around long-term access, test every valve during commissioning, and exercise them annually to prevent seizure.
Done properly, isolating valve placement is an investment that pays for itself the first time you need to replace a tap washer without shutting down your entire water supply. The difference between a 10-minute repair and a 2-hour ordeal often comes down to a £5 valve installed in the right location. For quality heating and plumbing components including isolation valves, Heating and Plumbing World supplies trade professionals across the UK. Technical support for specific installations is available, get in touch for expert guidance