

Pipe Size Details Before Buying Plumbing Fittings from Stock
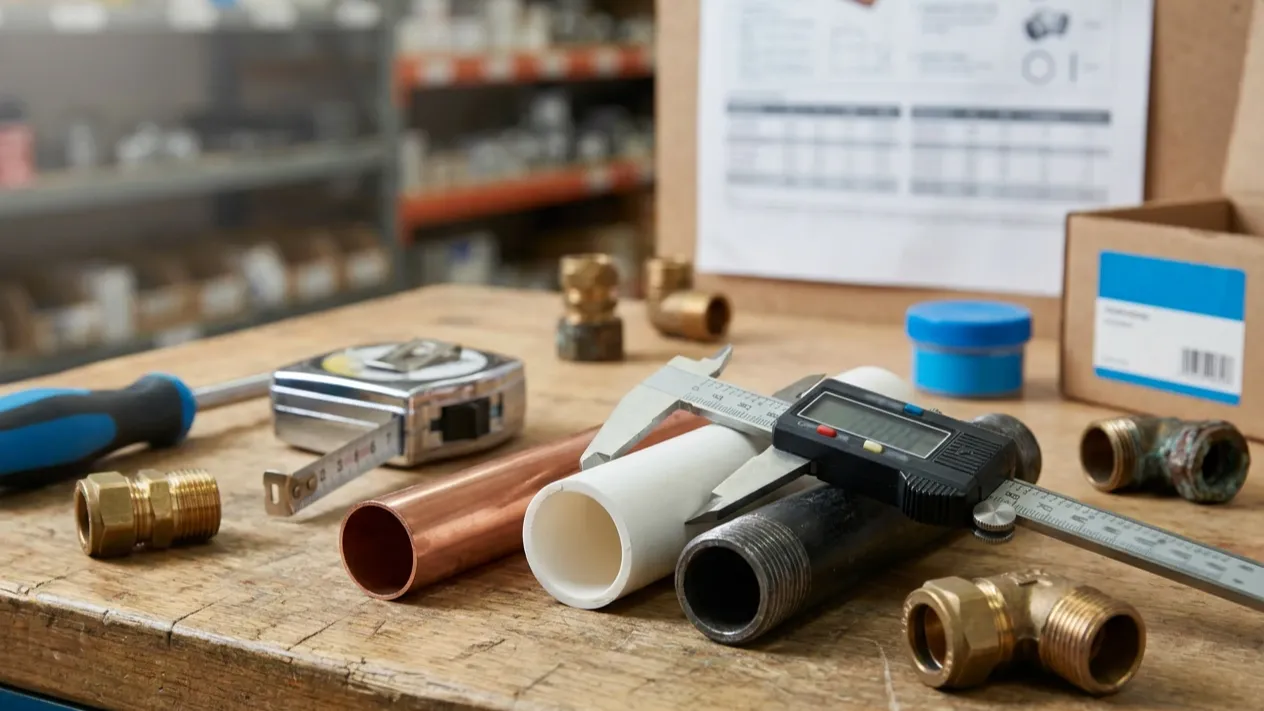
Choosing a fitting begins with the pipe that is actually in front of you, not with the part that looks closest in a product photograph. Two fittings can share the same general shape while differing in diameter, material compatibility or connection type. Those differences affect whether the parts can be joined correctly, so a clear record matters before anything is ordered.
The essential details are the pipe’s measured outside diameter, its material and the way the existing joint is made. The job location and the reason for the purchase can provide context, but they do not establish any of those three facts. A note such as “under the basin” or “on the heating run” helps identify the position; it does not confirm which fitting belongs there.
If part of the run is hidden, insulated or difficult to reach, record that limitation rather than filling the gap with an assumption. Waiting for one reliable measurement is usually simpler than returning several likely-looking parts and still having no confirmed answer.
Start With An Exposed Section Of Pipe
Measure a straight, accessible section of the pipe itself. Do not measure across a compression nut, threaded fitting, insulation, paint build-up or another component attached to the pipe. Each of those can increase the apparent diameter and lead to the wrong size being recorded.
A caliper can give a direct outside-diameter reading when there is enough access to place it squarely across the pipe. If only a flexible tape will fit around the pipe, record that result as a circumference and compare it with the manufacturer’s sizing guidance; do not copy a circumference into a diameter field. Whatever tool is used, take the reading from bare pipe rather than from the outside of a joint, then record the unit with the number.
Take the measurement in more than one place if the pipe is worn, coated or slightly distorted. If the readings disagree, do not average them to create a convenient result. Clean an appropriate exposed area or find another section of the same confirmed run and measure again.
Keep Nominal Labels And Measurements Separate
Pipe and fitting descriptions do not always work like ordinary object dimensions. A nominal trade size can identify a system or family without describing every physical dimension that can be seen with a ruler. This is why a measurement should be compared with the manufacturer’s dimensional information rather than treated as a product name on its own.
Keep metric and imperial descriptions separate in the order note. Similar-looking values are not proof that components are interchangeable, and a remembered conversion is not a substitute for the fitting specification. If an older installation uses an unfamiliar marking, retain that marking exactly and compare it with current technical information before selecting a replacement.
The same rule applies when a previous invoice or box label is available. It can be useful evidence, but only if it is clearly tied to the same unchanged pipe run. Renovations, repairs and extensions can introduce a different material or size, even within a small area.
Record The Pipe Material
Copper, plastic and steel pipe systems can require different fittings or supporting components even when their visible dimensions appear close. Record the material directly instead of describing every metallic pipe as copper or every light-coloured pipe as plastic. Surface colour alone may be misleading where paint, corrosion, dirt or protective coatings are present.
Plastic pipe deserves particular care because compatibility can depend on the exact pipe system and the components specified by its manufacturer. Some applications require a matching insert, while others use a different joint arrangement. An old insert found nearby does not prove that it belongs with the current pipe. Check the product instructions for the identified system and do not transfer components between families by appearance.
For metal pipe, note any legible manufacturer or standard markings without treating them as a complete size check. The measurement, material and joint still need to agree with the specification for the fitting being considered.
Identify The Joint At Both Ends
The connection method is part of the fitting identity. Compression, threaded, push-fit and solvent-weld joints are not interchangeable descriptions, and a fitting may use a different connection at each end. Record both ends when the new component joins unlike pipe materials or changes from one jointing method to another.
An old fitting can be helpful when it is known to have come from the exact location. Keep its nut, olive, insert or adaptor together so the assembly can be examined as a whole. However, do not assume that every loose component in a toolbox came from that joint, and do not rely on handle colour or body shape to identify a valve or connector.
Where a fitting reduces or adapts between two connections, write down each side separately. A single size note is incomplete if the inlet and outlet differ. Photographing both ends beside the measured pipe can make the record clearer, but the photograph supports the measurements rather than replacing them.
Use Photographs As Supporting Evidence
A useful photograph shows the joint closely, includes a scale beside an exposed section of pipe and makes the route of the pipe understandable. Take a wider image for location, then close views of the pipe and both sides of the connection. Keep the measuring tool square to the pipe so perspective does not make the reading appear larger or smaller.
Poor lighting, heavy insulation and a distant room view can hide the details needed for selection. If the only visible section belongs to a different branch, do not use it as evidence for a concealed run. Continuity needs to be clear before one measurement is carried across to another location.
When the pipe cannot be exposed safely or without disturbing the installation, mark the size as unconfirmed. The correct next step is to obtain a reliable measurement or suitable trade assessment, not to choose several possibilities from photographs and hope that one fits.
Compare The Listing With The Order Note
Once the pipe details are confirmed, compare the recorded size, material and connection method with the written specification for the relevant plumbing fittings. Read the dimensions and connection description rather than relying on the main product image. Photographs are often illustrative and may not show the differences between closely related variants.
Check whether the listing describes one connection size or two, and whether any insert, adaptor, nut or olive is included or must be selected separately. If a component is intended for a particular pipe system, make sure the identified pipe falls within that stated application. A fitting that matches the measured diameter but uses the wrong connection or pipe system is not a match.
Keep the manufacturer’s product code in the final order note only after the technical details have been matched. That creates a useful record for the same unchanged run while avoiding the risk of copying an identifier from an unrelated job.
Check Approval Information Separately
Where water-fittings approval is relevant to the intended use, search the official WRAS approvals directory and confirm the exact product or range entry. Use the approval number, company name and product details together where possible, because a brand name alone may cover many different items.
Approval information answers a different question from physical fit. It does not determine the pipe diameter, make materials compatible or identify the jointing method. Complete the size and compatibility checks first, then verify any approval requirement against the exact item being considered and the conditions attached to its listing.
If the approval entry and the merchant description appear to refer to different variants, pause the order and clarify the discrepancy. Do not transfer an approval from one product to another simply because the names or photographs look similar.
Prepare A Clear Order Note
A useful order note states the location, measured outside diameter and unit, pipe material, joint type at each end, and any confirmed product or system marking. Add photographs that show the measurement and the complete joint, plus a note explaining which part of the run each image represents.
Keep unknown information visible as unknown. Phrases such as “concealed after this joint” or “material marking not accessible” are more useful than a guessed value because they show exactly what still needs to be checked. They also prevent an estimate from being copied into a later order as though it were a confirmed measurement.
When several fittings are needed for one property, make a separate line for each pipe run or connection point. Repeating a single size across the whole order can hide differences introduced by extensions, repairs or changes in material. Name the room or plant position, attach the matching photograph and keep each measurement beside the item it supports. This makes it easier to check the basket without transferring a correct detail from one location to the wrong fitting.
If an existing assembly contains adaptors, reducers or mixed joint types, describe the sequence in the order it appears rather than reducing it to the largest visible component. Note which parts will remain and which one is being replaced. A precise sequence helps distinguish a direct replacement from a new transition between systems, while avoiding assumptions about components hidden behind the visible joint.
Before submitting the order, read the note back against the product specification. Every size, material and connection detail should agree. If one field is missing or contradictory, resolve it before the fitting is packed.
Conclusion
Accurate fitting selection depends on a small set of reliable details: the measured pipe, the material and the connection at each end. Product photographs, room descriptions and parts from earlier jobs can support that record, but none of them replaces it. Treat concealed or conflicting information as a reason to verify, not as an invitation to guess.
Once those details are confirmed, the product specification can be checked on equal terms. If the measurement, material or joint still does not align with the listing, send an enquiry with the order note and clear photographs before completing the purchase.