
Replacing a Toilet Flush Mechanism Step-by-Step
A faulty toilet flush mechanism can waste water, increase bills, and cause daily frustration throughout the home. When toilets run constantly, flush weakly, or fail to refill properly, the flush valve often needs replacing. This comprehensive guide explains how to replace toilet flush mechanism components safely and effectively, ensuring your bathroom returns to full functionality without requiring expensive professional callouts.
Heating and Plumbing World supplies quality replacement parts for all toilet systems, helping homeowners tackle common plumbing repairs with confidence and precision.
Understanding Your Toilet Flush Mechanism
Components of a Flush System
Modern toilet cisterns contain three primary components that work together to control flushing and refilling operations. The flush valve sits at the cistern base, releasing water into the bowl when activated by the flush button or handle. The fill valve regulates water supply entry after flushing, whilst the overflow tube prevents cistern overfilling that could cause water damage. Understanding these elements helps identify which parts require replacement during repairs and ensures homeowners purchase the correct components for their specific toilet model.
The flush valve typically includes a flapper or seal that creates a watertight barrier between the cistern and bowl. When this seal deteriorates, water continuously leaks into the bowl, creating the characteristic running toilet sound that wastes litres daily. The fill valve monitors water levels and shuts off flow once the cistern reaches optimal capacity, usually indicated by a marked line inside the tank.
When to Replace vs Repair
Toilet flush valve replacement becomes necessary when components show significant wear, cracks, or persistent leaking despite attempted repairs. Minor issues like worn flappers or adjustable fill valves often need simple fixes that homeowners can accomplish in minutes, but complete mechanism failure requires full installation of new parts. Replacing the entire assembly costs between £15-40 for parts, whilst professional installation adds £60-120 to total expenses.
Signs requiring immediate toilet flush valve replacement include constant water running, weak flushes despite adequate water levels, visible cracks in plastic components, or water pooling beneath the cistern. Attempting repairs on severely degraded parts often proves more expensive than complete replacement, as temporary fixes fail within weeks.
Tools and Materials You'll Need
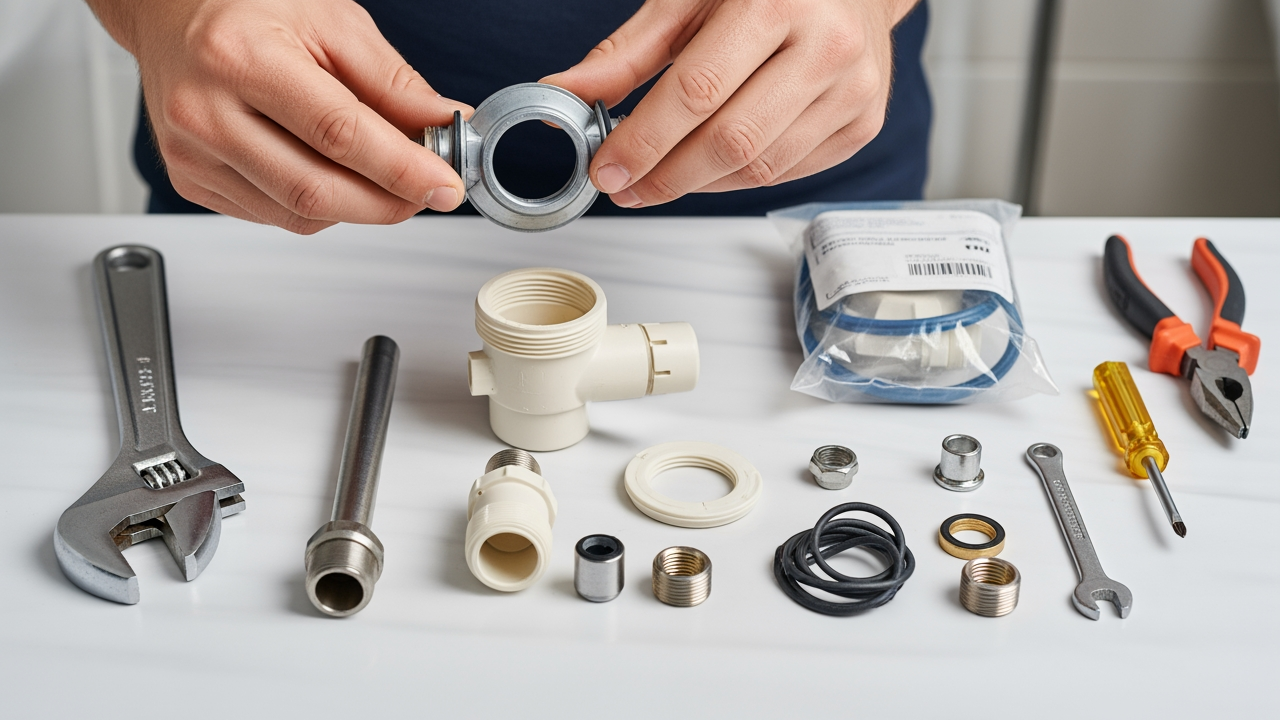
Essential Tools
Gather an adjustable wrench, both flathead and Phillips screwdrivers, old towels for water cleanup, and a bucket before starting work on any flush mechanism repair. A torch helps inspect dark cistern interiors where deterioration often hides from casual observation, whilst rubber gloves keep hands clean during the process. Having all tools ready prevents mid-project interruptions that extend simple repairs into frustrating afternoon projects.
Additional tools that prove helpful include a small wire brush for cleaning mineral deposits, penetrating oil for loosening corroded nuts, and a measuring tape for confirming replacement part dimensions before purchase. Some older toilets use brass fittings that require proper-sized wrenches rather than adjustable types.
Replacement Parts
Choose universal flush mechanisms that fit most standard cisterns, or select brand-specific parts for perfect compatibility with premium toilet brands. Quality pressure relief valves ensure proper water pressure regulation in your plumbing system, preventing damage to delicate components. Read cistern dimensions carefully before purchasing, as mechanisms vary by height, width, and flush button configuration.
Replacement kits typically include the flush valve, mounting hardware, rubber seals, and detailed installation instructions. Some kits provide additional spare parts like washers and clips that may prove necessary during installation. Purchasing complete kits ensures compatibility between all components and eliminates multiple shopping trips for missing pieces.
Step-by-Step Replacement Process
Preparation and Water Shut-Off
Locate the isolation valve on the water supply pipe beneath or beside the toilet. Turn clockwise until fully closed, then flush the toilet to drain the cistern completely. Remove remaining water with a sponge or cup, ensuring the cistern is completely empty before proceeding with the replace toilet flush mechanism process. This prevents water spillage that damages bathroom floors and creates slipping hazards during repairs.
Place towels around the toilet base and beneath the cistern to catch any residual water that escapes during disassembly. Disconnect the water supply line if necessary, though many repairs are completed successfully without this step. Take photographs of the existing flush mechanism before removal - these images prove invaluable when confusion arises during reassembly.
Removing the Old Flush Mechanism
Unscrew the flush button or handle assembly from the cistern lid, then lift the lid away carefully to avoid dropping and cracking the porcelain. Disconnect the flush valve linkage from the button mechanism by unhooking the chain or rod attachment. Beneath the cistern, use an adjustable wrench to loosen the large plastic nut securing the flush valve to the cistern base, turning anticlockwise until free. Lift the old mechanism out once freed, inspecting the cistern base for cracks, mineral buildup, or damage requiring attention before installation of new parts.
Some older flush mechanisms use rubber washers that deteriorate and stick to porcelain surfaces. Carefully scrape away all old seal material using a plastic scraper - never metal tools that scratch porcelain. Clean the cistern base thoroughly with white vinegar to remove limescale deposits that prevent proper sealing.
Installing the New Mechanism
Position the new flush valve through the cistern base opening, ensuring the rubber seal sits flat against the porcelain without any gaps or wrinkles. Hand-tighten the securing nut underneath, then use a wrench for a quarter-turn more - avoid over-tightening, which can crack porcelain and create expensive damage. Connect the overflow tube and adjust the valve height according to manufacturer specifications, typically leaving 25-30mm clearance above the maximum water line.
For complex installations requiring multiple components, homeowners often prefer professional assistance to ensure proper functionality. Quality replacement parts make the toilet flush valve replacement process more reliable and longer-lasting, reducing the frequency of future repairs.
Attach the flush button linkage to the new valve mechanism, ensuring adequate chain slack prevents constant tension that causes premature seal wear. Test the mechanical action by manually operating the flush valve several times before refilling the cistern.
Testing and Final Adjustments
Reconnect the water supply by opening the isolation valve slowly whilst watching for leaks around all connection points. Watch the cistern fill and check for leaks around the valve base and connections, tightening gently if minor seepage occurs. Adjust the fill valve to set the correct water level, typically 25mm below the overflow tube opening for optimal flush performance. Test the flush several times, ensuring complete emptying and proper refilling cycles function smoothly.
Listen carefully during testing - unusual sounds indicate installation problems requiring immediate correction. The fill valve should shut off cleanly without dribbling water after the cistern fills completely. Weak flushes suggest insufficient water volume, whilst overly forceful flushes indicate excessive water levels that waste resources.
Common Problems and Troubleshooting
Installation Issues
Misaligned flush valves cause persistent leaking despite new parts and careful installation efforts. The rubber seal must sit perfectly flat - any debris or uneven surfaces prevent proper sealing between the valve and cistern base. If the cistern won't hold water after completing the replace toilet flush mechanism process, remove the valve, clean the cistern base thoroughly, and reinstall it with the seal properly positioned.
Cross-threaded mounting nuts represent another common problem during installation. These damaged plastic threads prevent secure mounting, eventually causing leaks. Always hand-tighten first to ensure proper thread engagement before applying wrench pressure.
Post-Installation Concerns
Weak flushing often indicates incorrect water levels, partially closed isolation valves, or clogged rim holes in the toilet bowl. Adjust the fill valve to increase water volume, ensuring the cistern fills to the marked level without exceeding overflow tube height. Running toilets suggest the flapper isn't sealing properly - check for debris preventing complete closure, or replace the flapper if worn despite recent installation.
Continuous water supply noise after flushing indicates the fill valve requires adjustment or replacement. Modern fill valves include adjustment screws that control flow rate and final water level. Consult the manufacturer's instructions for specific adjustment procedures, as designs vary significantly between brands.
Maintenance Tips for Longevity
Regular Inspection Schedule
Inspect toilet flush mechanisms monthly for signs of wear, mineral buildup, or component deterioration that indicate future failure. Annual deep cleaning prevents limescale accumulation that degrades rubber seals and moving parts within the cistern. Test the flush button and overflow tube functionality during routine bathroom cleaning sessions, catching problems before complete failure occurs.
Adding inspection reminders to household maintenance calendars ensures consistent monitoring. Small issues detected early often require only minor adjustments rather than complete component replacement.
Preventive Measures
Hard water areas experience faster component degradation due to mineral deposits that accumulate on all surfaces. Installing water softeners or using descaling tablets quarterly extends the mechanism's life significantly while improving performance. Avoid harsh chemical cleaners in cisterns, as these damage rubber components and accelerate replacement needs substantially. Clean cisterns with white vinegar and warm water instead, providing effective descaling without harmful effects.
Quality parts from established suppliers ensure reliable performance across years of daily use. Whether replacing valves, upgrading expansion vessels, or sourcing boiler spares, choosing proven products reduces future maintenance requirements and prevents premature failures.
When to Call a Professional
Complex Situations
Certain scenarios warrant professional assistance despite comprehensive DIY knowledge. Cracked cisterns require complete toilet replacement rather than simple flush valve repairs. Non-standard toilet systems, particularly dual-flush models or pressure-assisted toilets, involve complex components that benefit from professional expertise during installation. Multiple simultaneous plumbing issues often indicate systemic problems requiring diagnostic skills beyond typical homeowner capabilities.
Professional plumbers complete toilet flush valve replacement efficiently, typically within 30-45 minutes, including testing and adjustments. Their experience identifies underlying issues that cause premature component failure, preventing recurring problems that frustrate homeowners.
Conclusion
Learning how to replace toilet flush mechanism components empowers homeowners to handle common bathroom repairs confidently without always requiring professional assistance. Following this step-by-step process saves money on professional callouts whilst ensuring toilets function efficiently for years. Most replacements take 30-60 minutes, with results lasting several years when quality parts are installed correctly according to manufacturer specifications.
For complex plumbing issues, uncertain repairs, or when time is limited, professional assistance ensures proper installation without risk of damage to expensive toilet fixtures. Contact us for expert advice on toilet repairs, replacement parts, or any plumbing concerns requiring specialist knowledge and experience.