

Signs Your Air Source Heat Pump Needs a New Fan Motor
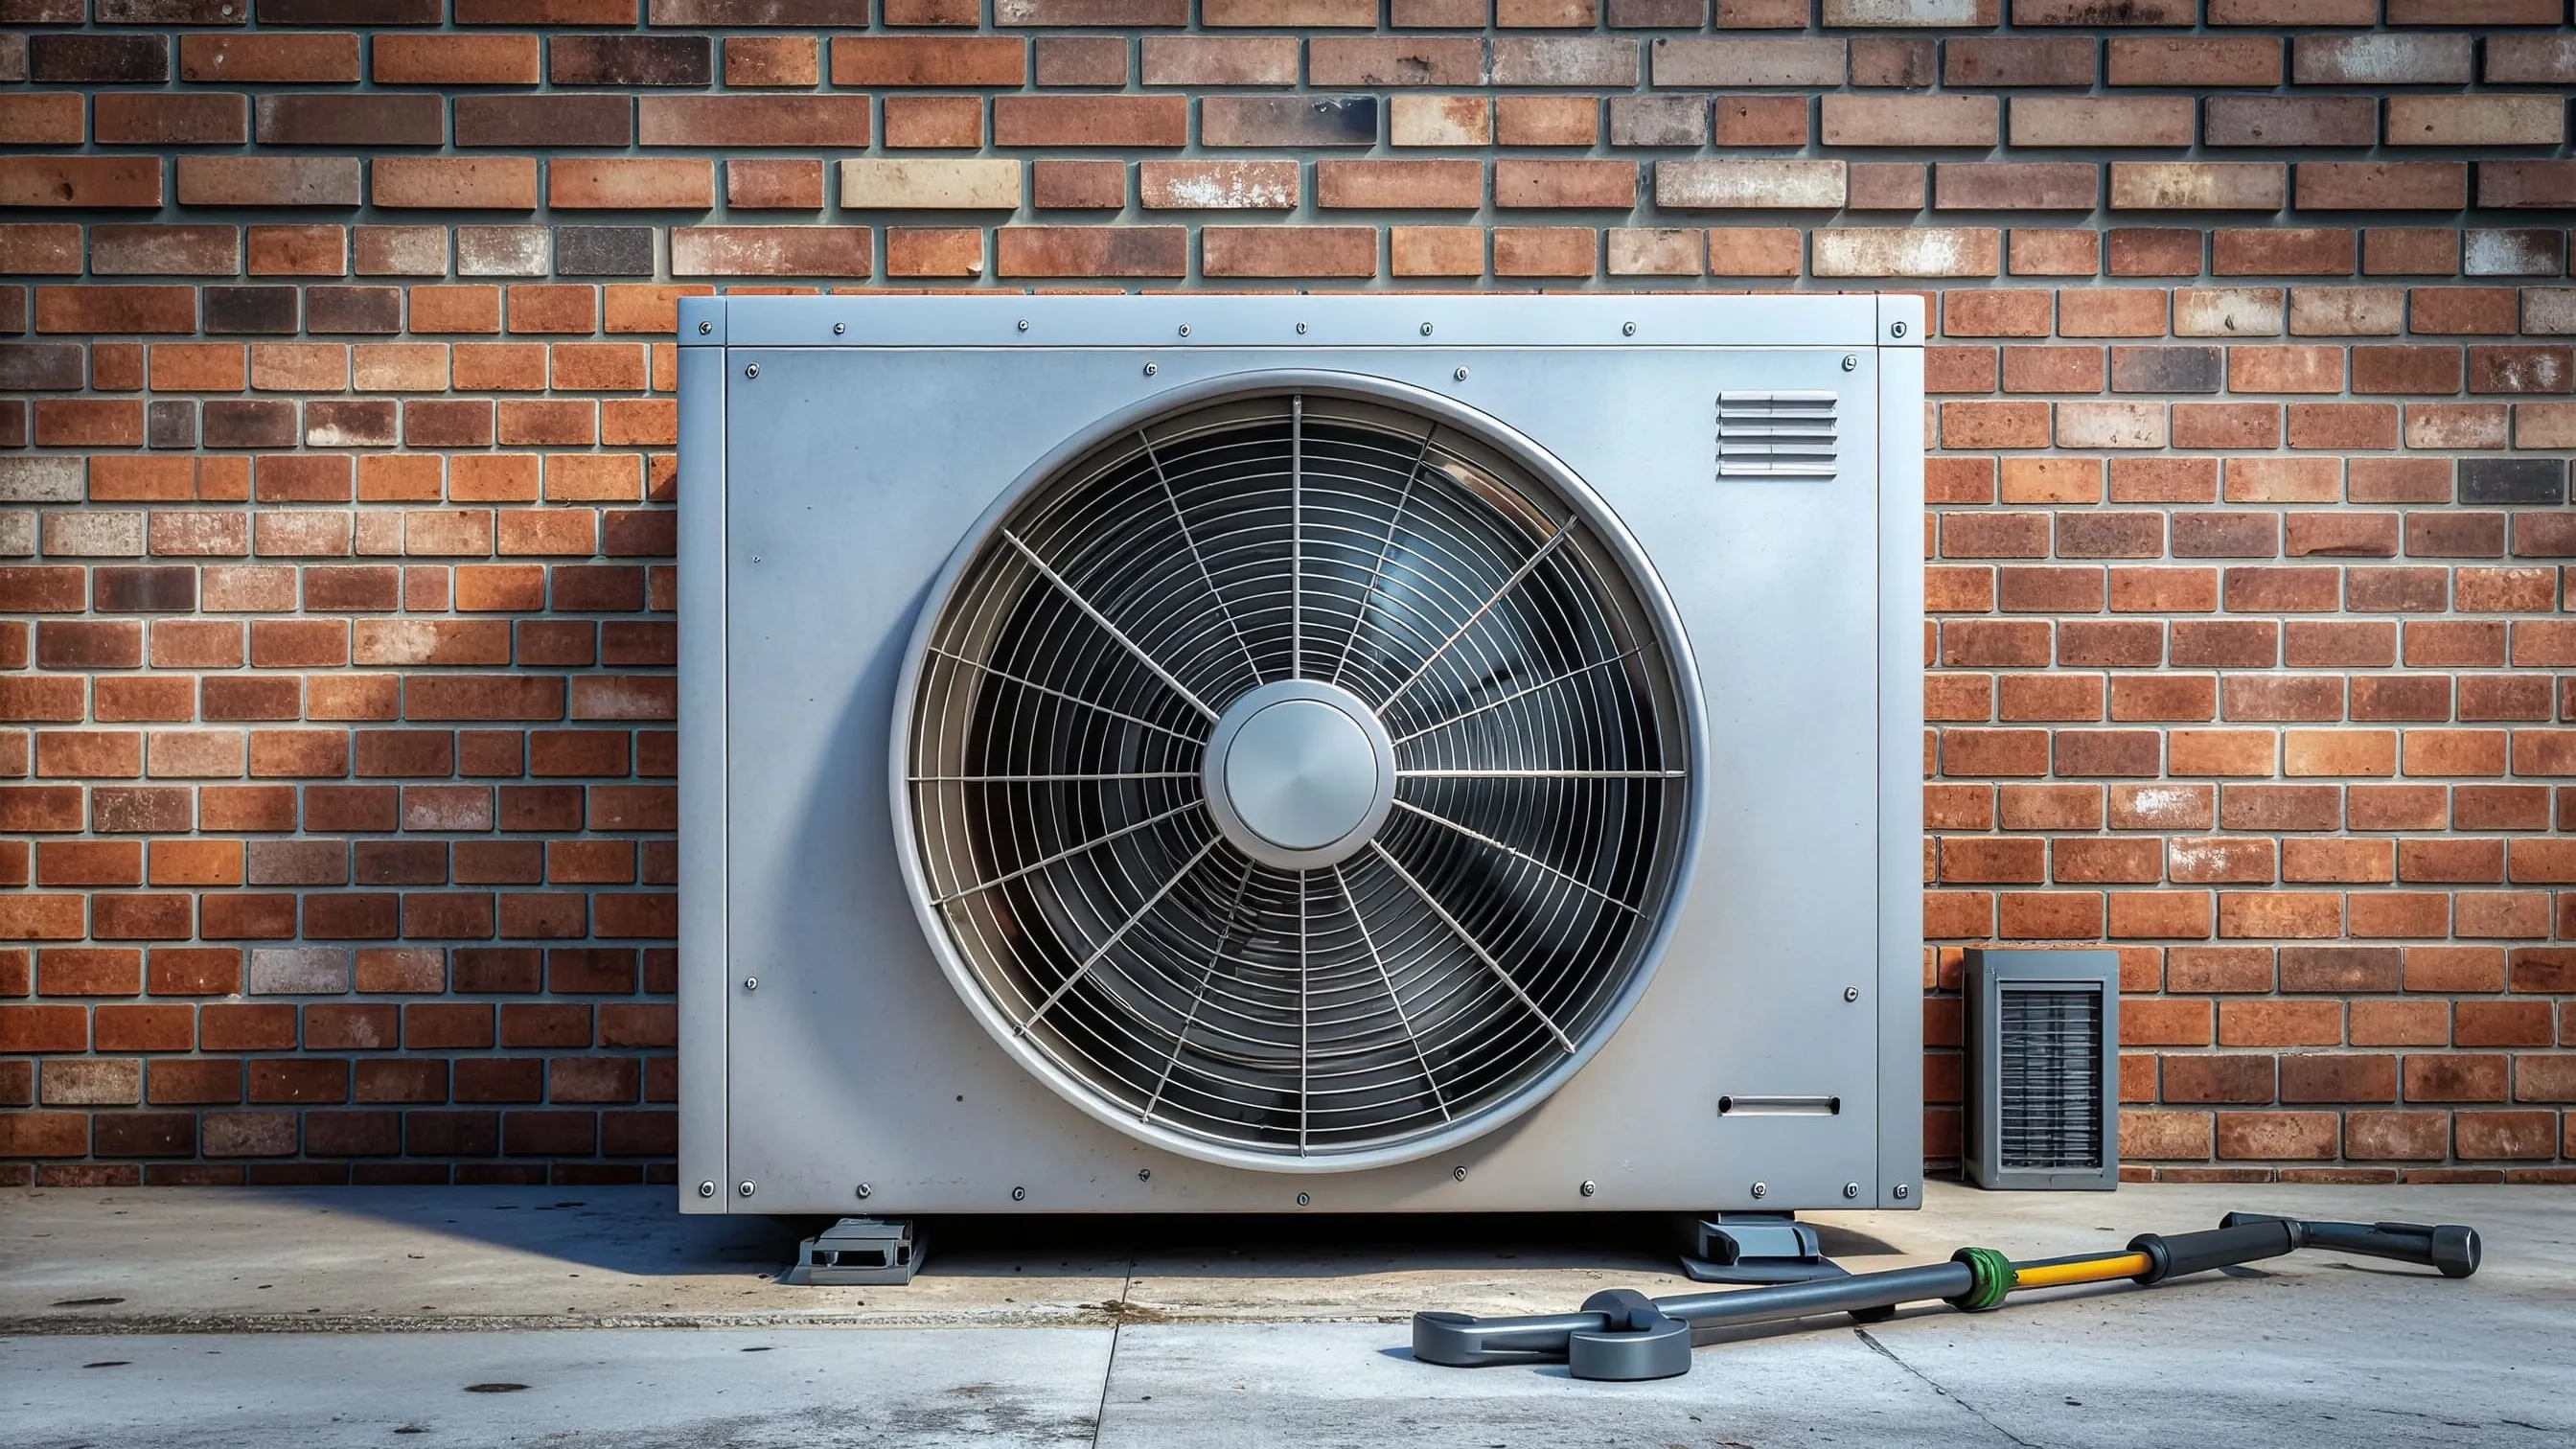
The air source heat pump fan motor is a critical component that dictates the overall efficiency of the entire refrigeration cycle. It draws ambient air across the evaporator coil, allowing the liquid refrigerant to absorb necessary heat energy from the outside environment. When this motor begins to fail, the entire system suffers from severely reduced heat transfer capabilities. Diagnosing the issue early prevents cascading failures and protects the expensive compressor from overheating. You need to identify the subtle warning signs before the unit shuts down completely on a high-pressure or high-temperature fault.
Understanding Fan Motor Degradation
Beyond standard weather exposure, the air source heat pump fan motor must constantly fight against environmental blockages like fallen leaves, snow build-up, and overgrown vegetation. When the outdoor coil gets blocked, the motor experiences much higher static pressure, causing it to run hotter than its design parameters allow. This thermal stress breaks down the internal winding insulation slowly over time.
Constant temperature fluctuations, driving rain, saltwater corrosion in coastal areas, and airborne debris take a heavy toll on moving parts over the years. As the internal components degrade, the motor spins slower or struggles to overcome its initial starting inertia.
This drop in rotational speed directly reduces the volume of air passing over the outdoor coil. If the airflow drops, the compressor works significantly harder to achieve the target flow temperature, meaning the thermal energy delivered to the indoor radiator heating system drops dramatically. Homeowners will inevitably complain of lukewarm radiators or soaring electricity bills long before the outdoor unit finally fails completely.
Professionals know that catching these early signs of degradation is the absolute hallmark of a skilled heating engineer. Heating and Plumbing World provides the technical resources and robust replacement components required to address these issues proactively. Do not wait for a catastrophic mechanical failure to take action.
Identifying Auditory and Visual Faults
The first sign of mechanical trouble is almost always auditory. A healthy motor produces a smooth, consistent aerodynamic hum as it moves large volumes of air. If you hear a harsh, metallic grinding or a high-pitched squeal from the top grille, you are likely dealing with bearing failure noise.
Think of condenser fan blade balance like the wheel alignment on a motorway transit van. If the alignment is even slightly off, the resulting vibration will slowly tear the surrounding mechanicals to pieces over thousands of miles. Poor condenser fan blade balance destroys motor bearings rapidly, leading directly to that distinct bearing failure noise you hear on approach. Listen closely.
Last winter, an apprentice condemned a remarkably expensive compressor because of a horrendous screeching sound upon startup. A quick isolation of the fan circuit revealed severe bearing failure noise from the fan motor instead, while the compressor itself was perfectly fine. Swapping the motor and blade saved the client thousands of pounds and proved the immense value of isolating individual components during diagnostics.
Always inspect the fan blade itself for hairline cracks, warped edges, or missing balancing weights. A damaged blade stresses all related heating system components by sending resonant vibrations down the copper pipework into the chassis. If you find poor condenser fan blade balance, you must replace the plastic or metal blade alongside the motor. Fitting a brand new motor onto a warped blade is a guaranteed callback waiting to happen.
Electrical Diagnostic Procedures
Visual and auditory clues are incredibly helpful, but your trusted multimeter provides the definitive electrical answers. Before touching any internal wiring or control boards, isolate the mains power at the rotary switch and verify the circuit is completely dead. Once safe, discharge any run capacitors and disconnect the motor leads to perform a thorough winding resistance check on the stator.
While a standard multimeter is great for basic continuity, testing at 500 volts DC with an insulation resistance tester can reveal microscopic breakdowns in the winding lacquer before they result in a dead short to earth. A proper winding resistance check reveals internal shorts to ground or open circuits within the copper coils that you simply cannot see visually. Measure between all phase legs and from each leg to the solid earth terminal.
If you are servicing a hybrid setup and carrying boiler replacement parts for the gas side, apply the exact same rigorous electrical diagnostic logic to the heat pump circuit. Faulty motors disrupt the delicate electrical balance of your outdoor unit, forcing compressors into overdrive and straining contactor relays.
If your winding resistance check shows infinite resistance across any two power leads, the internal thermal overload has tripped or the winding has completely burned through. You must replace the unit immediately. Always cross-reference your multimeter readings against the manufacturer data plate to protect sensitive heating system components danfoss from subsequent electrical surges upon restarting. Incorrectly diagnosing an open winding as a board fault will cost you time and credibility. Trust your meter.
The Replacement Process
Modern heat pumps increasingly utilise variable speed technology to match heating demand precisely, which means you will frequently face an ECM motor replacement rather than a simple AC induction motor swap. An ECM (Electronically Commutated Motor) has continuous high-voltage power and a separate low-voltage communication harness to control the exact RPM.
During an ECM motor replacement, you cannot simply check for 230 volts at the plug and instantly condemn the motor. You must verify that the printed circuit board is actually sending the correct PWM (Pulse Width Modulation) or serial communication signal to command the motor to spin. Misdiagnosing an ECM motor replacement when the actual fault lies with the main control board is a very expensive and embarrassing mistake that leaves the client without heat for days.
When you have confirmed the air source heat pump fan motor is definitely the culprit, remove it carefully and inspect the metal mounting brackets for stress fractures or metal fatigue. Ensure excessive vibration hasn't compromised any nearby heating pipe systems or rubbed bare patches through refrigerant lines during the motor's final chaotic days of operation.
Mount the new air source heat pump fan motor securely and route the wiring harnesses exactly as they were installed at the factory, ensuring drip loops are present to keep water out of the plugs. Secure all cables firmly away from the spinning blades using heavy-duty cable ties.
After installation, you must commission the unit properly. Check the fan rotation direction immediately upon startup, as an incorrectly wired motor spinning backward will drastically reduce airflow and cause high-pressure lockouts. Some advanced setups even allow you to monitor fan speeds and fault codes directly through a smart heating control app, making future commissioning and remote diagnostics much easier.
Conclusion
Replacing a failing air source heat pump fan motor before it seizes entirely protects the compressor and restores the system's intended coefficient of performance. Always pay close attention to abnormal mechanical noises, verify your suspicions with accurate electrical testing, and ensure you understand the specific control signals required for modern electronic motors. If you encounter unusual diagnostic readings, struggle to decipher a wiring diagram, or require assistance matching a legacy motor to a modern equivalent, please get expert advice from our dedicated technical team today.